Discover the secret to turning plain walls into dynamic masterpieces. Experts at the Home Improvement Association say that textured walls can boost a room’s mood and appeal. This guide shows you simple DIY methods to add texture and depth. Try these ideas to give your walls a fresh, personal touch.
Why Choose Textured Walls?
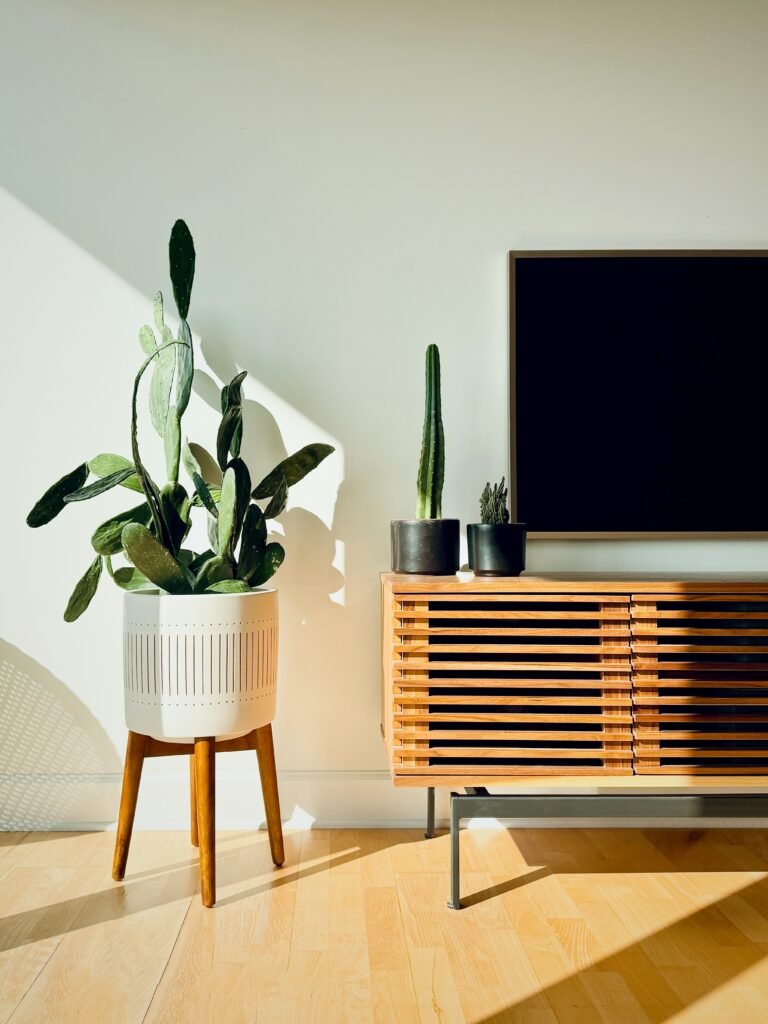
Textured walls bring many benefits. They add visual interest and hide small flaws in your home.
Visual Interest
- Break up large flat areas
- Create a focal point
- Add depth and life
Camouflage Imperfections
- Hide minor wall defects
- Reduce the look of nail holes and cracks
Acoustic Benefits
- Some textures absorb sound and reduce echo
Customization
- Create a unique wall that suits your style
- Match different design tastes
Pro Tip: Test a small area first to ensure you like the texture before doing an entire wall.
Essential Tools and Materials
Gather these simple tools and materials to get started:
Tools
- Paint rollers and brushes
- Putty or drywall knives
- Trowels (for some techniques)
- Texture sprayer (optional)
- Sandpaper
- Drop cloths
Materials
- Joint compound or drywall mud
- Textured paint
- Primer
- Your chosen paint color
- Texturing additives (if needed)
Pro Tip: Use good tools if you plan to work on many walls. They make the job easier and improve results.
Popular DIY Wall Texturing Techniques
Try these popular texturing styles at home:
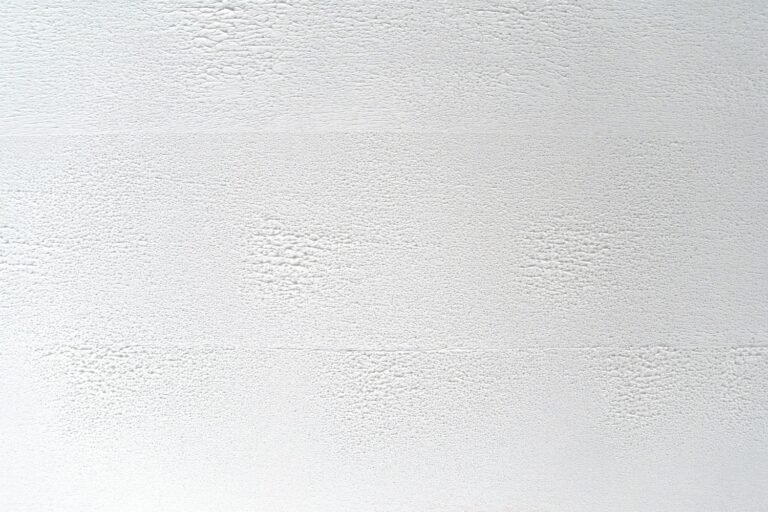
1. Orange Peel Texture
This texture is soft and bumpy, much like an orange skin.
Steps:
- Paint a base coat and let it dry.
- Mix drywall compound with water to form a thick batter.
- Apply the mix with a sprayer or roller.
- Let it dry and then paint your wall.
Pros:
- Easy with the right tools
- Creates a subtle and even look
Cons:
- Needs special equipment for best results
- Trouble if you need to repair a spot
2. Knockdown Texture
This style is similar to orange peel, but the texture is flattened for a mottled look.
Steps:
- Apply the orange peel texture.
- While wet, lightly flatten with a knockdown knife.
- Let dry, then paint as you like.
Pros:
- Creates a smooth, stucco-like finish
- Hides wall flaws well
Cons:
- Practice is needed for consistent results
- The process is time sensitive
3. Venetian Plaster
This method gives a smooth, marble-like look with a soft shine.
Steps:
- Apply a tinted base coat with a trowel.
- Add thin layers, changing the trowel direction each time.
- Burnish the final layer with a clean trowel.
- You may add a clear sealer for extra shine.
Pros:
- Gives a high-end look
- You can change colors and finishes
Cons:
- It takes skill and practice
- Works slower than other methods
4. Combing
This technique uses a special tool to create stripes or swirls.
Steps:
- Spread a thick layer of joint compound on the wall.
- Drag a combing tool through it to form patterns.
- Allow it to dry completely before painting.
Pros:
- Create custom, artistic patterns
- Add dramatic flair to a room
Cons:
- Patterns may vary on larger walls
- Not ideal for high traffic spots
Pro Tip: Practice on a spare piece of drywall before you work on your walls. It helps you perfect your method.
DIY Textured Paint Techniques
Textured paint can be a fast, all-in-one solution:
1. Sand Texture Paint
This paint has fine sand that gives a soft, grainy feel.
Steps:
- Stir the paint well.
- Apply with a roller using steady pressure.
- Let it dry and add a second coat if needed.
Pros:
- Easy to use with regular tools
- Gives a smooth, even texture
Cons:
- Does not have as much depth
- May feel a bit rough
2. Popcorn Texture Paint
This type makes a bumpy texture like old popcorn ceilings.
Steps:
- Paint a base coat and let it dry.
- Use a roller or sprayer to apply the popcorn paint.
- Allow it to dry completely before any touch-ups.
Pros:
- Hides wall flaws well
- Helps with sound absorption
Cons:
- Harder to clean and maintain
- May not suit every taste
Pro Tip: Do a test patch with textured paint. This helps you check the look and feel before you commit.
Creating Accent Walls with Texture
Accent walls add drama and focus to any room. Try these ideas:
1. Geometric Patterns
Use painter’s tape to mark shapes. Then apply texture inside each shape.
2. Ombre Texture
Create an ombre effect by gradually changing the texture from bottom to top.
3. Textured Panels
Apply texture in rectangular sections to mimic panels.
Pro Tip: Keep other decor simple so your textured wall stands out.
Maintaining and Repairing Textured Walls
Keep your textured walls in top shape with proper care.
Cleaning
- Use a soft brush attachment on your vacuum.
- For washable textures, clean gently with a damp cloth and mild soap.
Repairs
- Save extra texture material for small fixes.
- Match the texture pattern when doing repairs.
Painting
- Use a thick-nap roller on textured walls.
- Apply paint in different directions for full coverage.
Pro Tip: Take photos and notes during your project. They help when you need to repair or expand the texture.
Removing Wall Texture
If you want a new look later, you can remove texture from your walls.
Methods:
- Sanding: Use for light textures.
- Skim Coating: Apply joint compound to smooth the wall.
- Wallpaper Steamer: Use on some applied textures.
Pro Tip: Removing texture takes time and can be messy. Consider hiring a professional if needed.
Eco-Friendly Texturing Options
If you care about the environment, try these options:
Natural Plasters
- Made from clay, lime, and sand
- Give a unique, organic finish
- Often free of VOCs
Low-VOC Textured Paints
- Offer ease with less environmental impact
- Look for eco-certified products
Pro Tip: Seal natural plasters well to protect them against moisture and wear.
Conclusion: Transform Your Space with Texture
Textured walls boost your room’s charm and style. Follow these tips:
- Pick a texture that matches your style
- Practice your technique first
- Choose textures that suit each room’s use
- Experiment with both bold and subtle textures
- Prepare well and use the right tools
These DIY techniques let you transform your home with creativity. Whether you choose a gentle sand texture or rich Venetian plaster, your walls will show your style and skill.
Ready to add depth and character? Check out this Textured Vinyl Wallpaper to jumpstart your DIY journey: https://amzn.to/3XR42xw
As an Amazon Associate, I earn from qualifying purchases.
Frequently Asked Questions
Q: How long does textured paint take to dry?
A: Textured paint usually dries within a few hours, but follow the specific product instructions for best results.
Q: Can I repair a small spot of texture?
A: Yes. Use leftover texture material and try to match the surrounding pattern.
Q: Do I need special equipment for all texturing methods?
A: Some techniques need tools like a texture sprayer, but many methods work with simple rollers and brushes.
Explore this topic: Productivity
Last updated on August 7, 2025