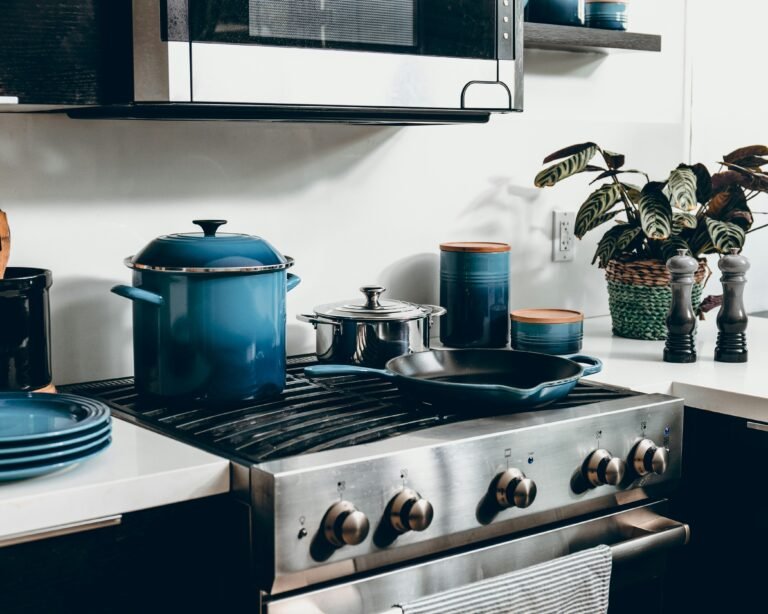
Discover the best electric bread makers with gluten-free settings for delicious homemade loaves, providing you with healthy and tasty options every day.
Imagine waking up to the smell of freshly baked bread, tailored specifically to your dietary needs. Electric bread makers with gluten-free settings make this dream a reality, offering convenience and versatility for those with gluten sensitivities or preferences.
As more people adopt gluten-free diets, the demand for specialized kitchen appliances has surged. These bread makers are designed to handle gluten-free dough, ensuring the perfect texture and taste every time. Whether you’re a seasoned baker or a beginner, these machines can significantly enhance your home baking experience.
This article will guide you through everything you need to know about electric bread makers with gluten-free settings. From understanding their key features and benefits to selecting the right model for your needs, we’ve got you covered. We’ll also delve into care and maintenance tips to keep your bread maker in top condition.
Table of Contents
Understanding the Importance of Gluten-Free Bread Makers
Gluten-free bread makers are specifically designed to cater to the unique requirements of gluten-free baking. These machines ensure that your bread has the right texture, flavor, and density, which can be challenging to achieve manually.
- Specialized Settings: These bread makers come with pre-programmed settings that adjust for the lack of gluten, ensuring a perfect rise and bake.
- Health Benefits: Ideal for those with celiac disease or gluten sensitivity, these machines help you maintain a healthy diet without compromising on taste.
- Convenience: With easy-to-use controls and automated processes, anyone can bake fresh gluten-free bread at home.
Key Features and Capabilities of Gluten-Free Bread Makers
When choosing a bread maker, understanding its features is crucial to making an informed decision. Here are some essential capabilities to consider:
- Programmable Settings: Allows customization of baking cycles to match different recipes and preferences.
- Non-Stick Pans: Ensure easy removal of bread and simple cleaning.
- Multiple Loaf Sizes: Options to bake different loaf sizes cater to varying household needs.
Comparing Different Bread Maker Models
Not all bread makers are created equal. Here’s how some popular models stack up against each other:
| Feature/Type | Benefits | Best For | Considerations |
|---|---|---|---|
| Model A | Compact design, affordable | Small kitchens, budget-conscious buyers | Limited loaf size options |
| Model B | Advanced settings, multiple recipes | Experienced bakers, versatility seekers | Higher price point |
Guide to Selecting the Right Bread Maker
Selecting the right bread maker involves considering your specific needs and preferences. Here’s how to make the best choice:
- Assess Your Needs: Determine the bread types and features you prioritize.
- Set a Budget: Balance between features and affordability to find value for money.
- Read Reviews: Check customer feedback for real-world performance insights.
Using Your Gluten-Free Bread Maker
Getting started with your gluten-free bread maker is simple if you follow these steps:
- Read the Manual: Familiarize yourself with the controls and settings.
- Prepare Ingredients: Measure accurately to ensure the best results.
- Select the Right Program: Use the gluten-free setting for optimal baking.
Care and Maintenance for Long-Lasting Use
Proper care extends the life of your bread maker. Follow these tips to keep it in top condition:
- Regular Cleaning: Clean the non-stick pan and other removable parts after each use.
- Check for Wear: Inspect the machine periodically for any signs of wear and tear.
- Store Properly: Keep the bread maker in a dry, cool place to prevent damage.
Expert Tips and Recommendations
- Experiment with Recipes: Try different gluten-free recipes to discover your favorite flavors and textures.
- Use Fresh Ingredients: Fresh yeast and flour can make a significant difference in your bread’s quality.
- Optimize Baking Time: Adjust settings based on your altitude and kitchen conditions for perfect results.
- Buy in Bulk: Purchase gluten-free ingredients in bulk for savings and convenience.
Common Questions About Electric Bread Makers with Gluten-Free Settings: Fresh Homemade Loaves
Find answers to frequently asked questions about electric bread makers with gluten-free settings.
- Q: Can I use regular bread recipes in a gluten-free bread maker?
A: It’s best to use recipes specifically designed for gluten-free bread makers to ensure proper texture and rise. - Q: How long does it take to bake gluten-free bread?
A: Most gluten-free settings will complete a loaf in about 2-3 hours, depending on the machine and recipe. - Q: What is the difference between gluten-free and regular bread settings?
A: Gluten-free settings adjust the kneading and rising times to accommodate the lack of gluten, ensuring a better loaf structure. - Q: Do I need special ingredients for gluten-free bread?
A: Yes, gluten-free bread requires specific flours and binders like xanthan gum to mimic the properties of gluten. - Q: Can I make other types of bread in a gluten-free bread maker?
A: Many gluten-free bread makers are versatile and include settings for other types of bread, but always consult your machine’s manual.
Conclusion
- Choose a bread maker with a dedicated gluten-free cycle, adjustable knead/rise/bake times, a removable nonstick pan, and a loaf size that suits your household. A delay timer and keep-warm option can help fit baking into your schedule.
- Measure ingredients by weight for consistency. Use room-temperature liquids, fresh leavening, and reliable binders such as xanthan gum or psyllium husk for structure.
- Prevent cross-contamination by thoroughly cleaning the pan, paddles, and workspace, and keep separate utensils for gluten-free baking.
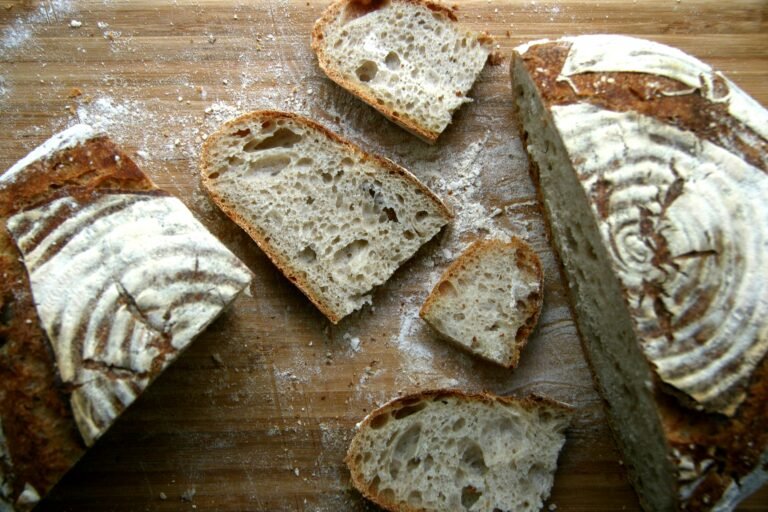
- Start with the gluten-free program. Aim for a dough that resembles thick cake batter; add a spoonful of liquid if too stiff or a little flour blend if too loose. Scrape down the sides during the first mix, and remove the kneading paddle before the final rise if your machine allows.
- Check doneness with a thermometer: target 205–210°F (96–99°C). If the loaf is underbaked or gummy, run an extra bake cycle or finish in the oven for a few minutes. Let the loaf cool completely before slicing.
- Troubleshoot quickly: dense loaf—add 1–2 tablespoons more liquid or extend the rise; collapsed top—reduce yeast or hydration; gummy crumb—bake longer or reduce liquid; pale crust—use a darker crust setting or a brief oven finish. Slice and freeze portions for longer storage and toast directly from frozen for best texture.
Plan your layout in Planner 5D
This article contains affiliate links. If you make a purchase, we may earn a commission at no extra cost to you.
Last updated on August 12, 2025